


Join us on our journey as we renovated our 1980's soft contempory home.
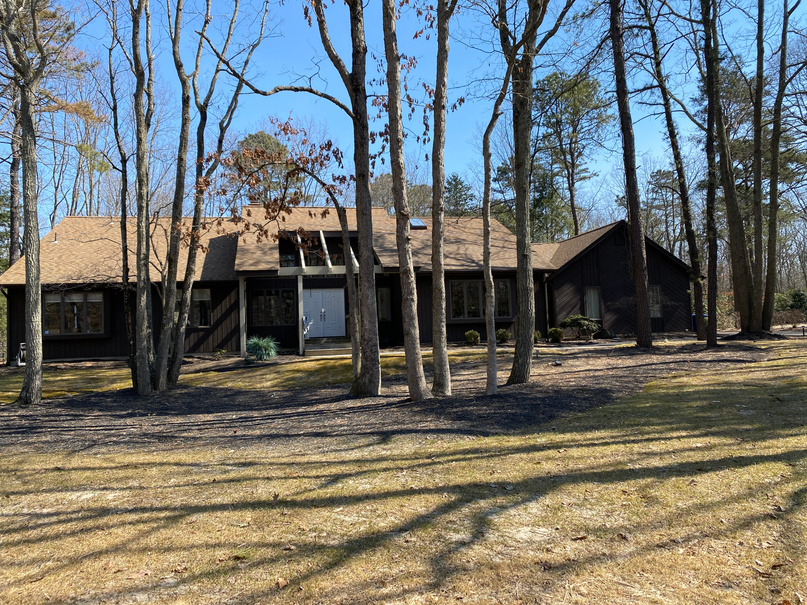
Exterior: Before
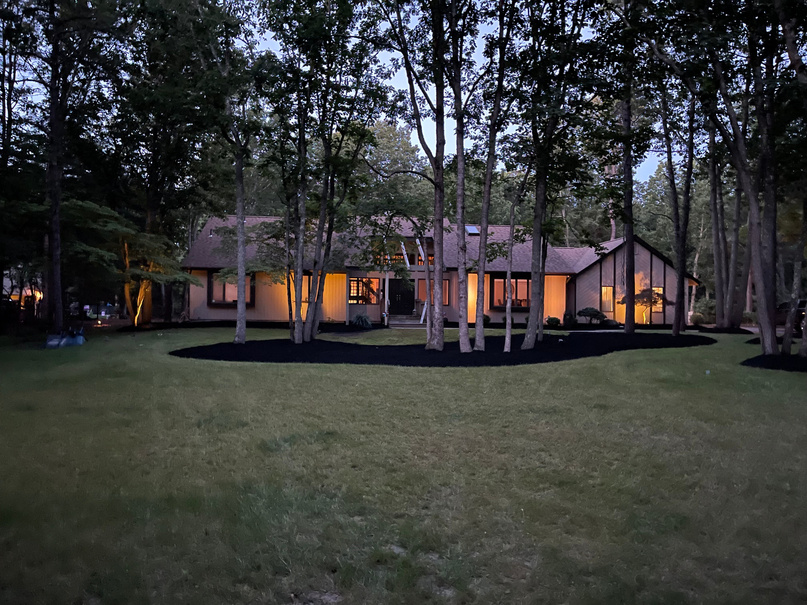
The exterior of the home was very dark and got lost amunst the trees. Through paint and landscaping, we are slowly bringing the exterior back to life. Click the link below to see photos of the exterior changes we have made.
Exexterior
Interior: The interior has also been refreshed.
Click on the link below to see the straightforward interior changes that have had a significant impact.

Links
Amazon Links
Linktree
LTK
Pinterest
read my blog
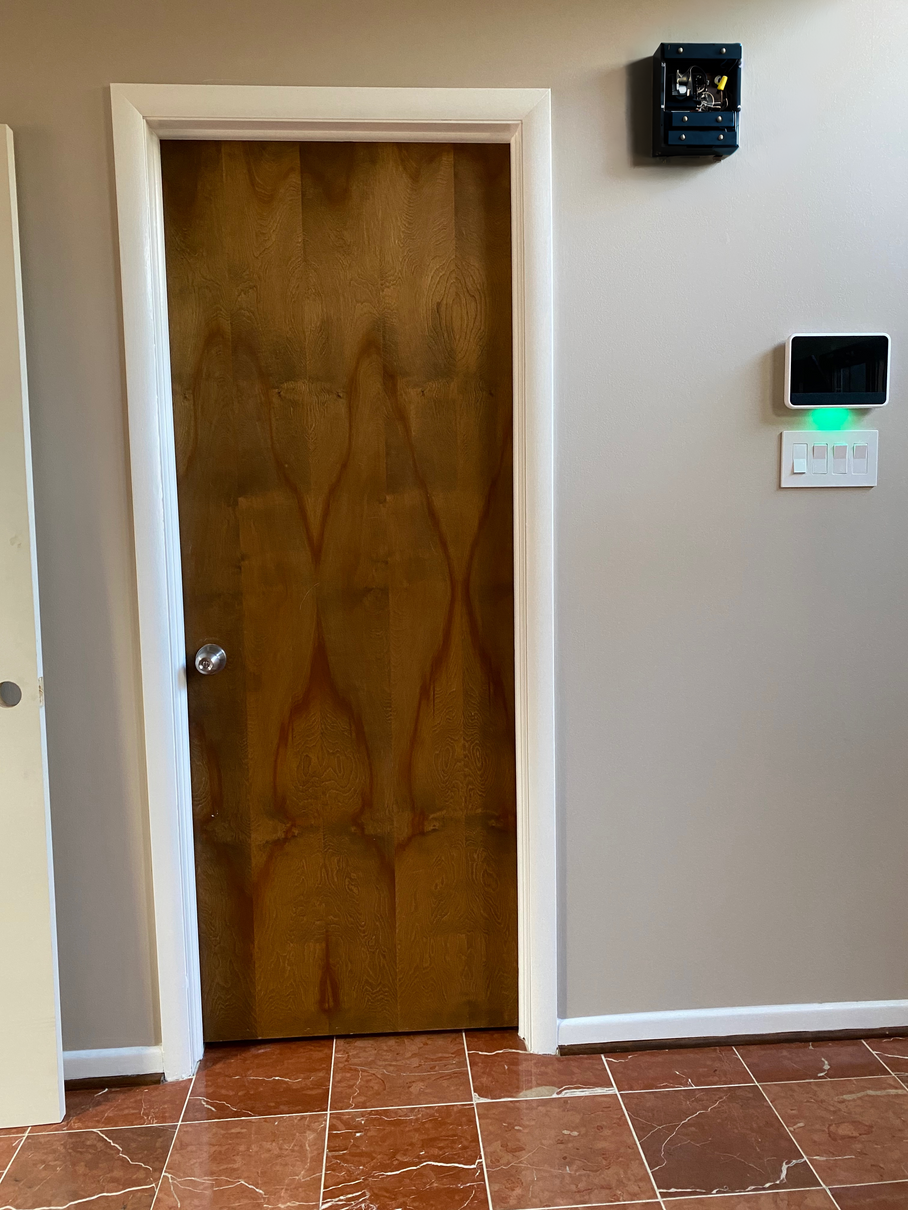
Interior Doors and Hardware
We replaced these dark, single- panel doors...
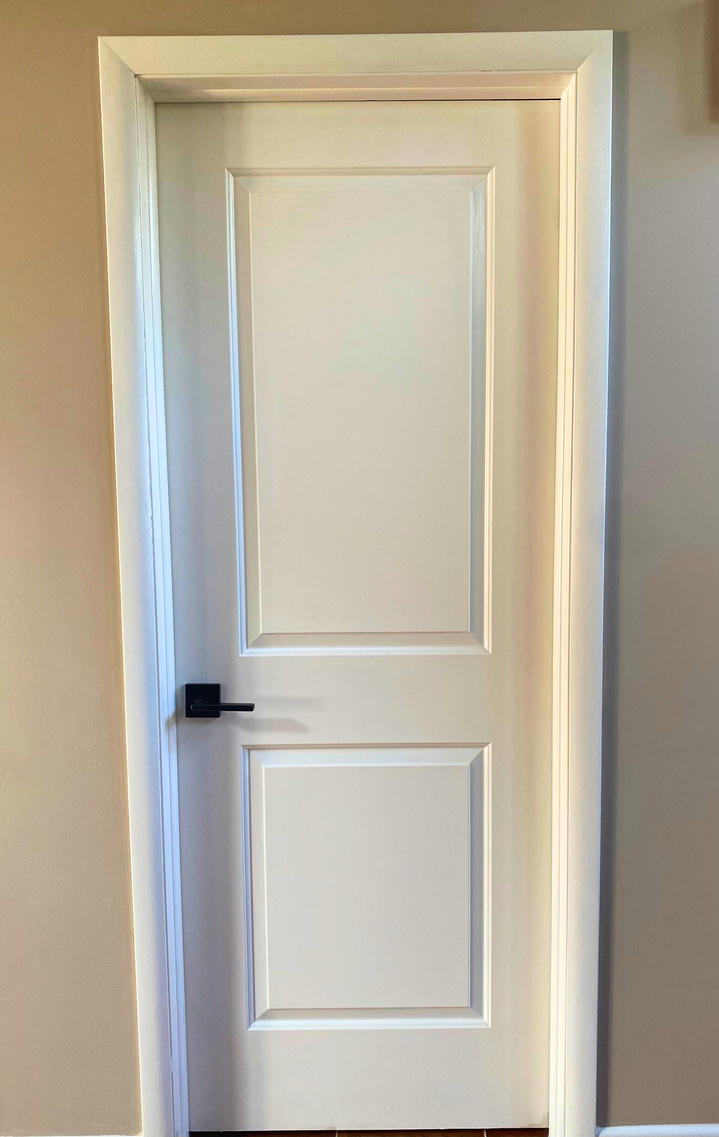
with double-panel doors to achieve a more modern look.
We also updated the hardware. Click here for the exact product.
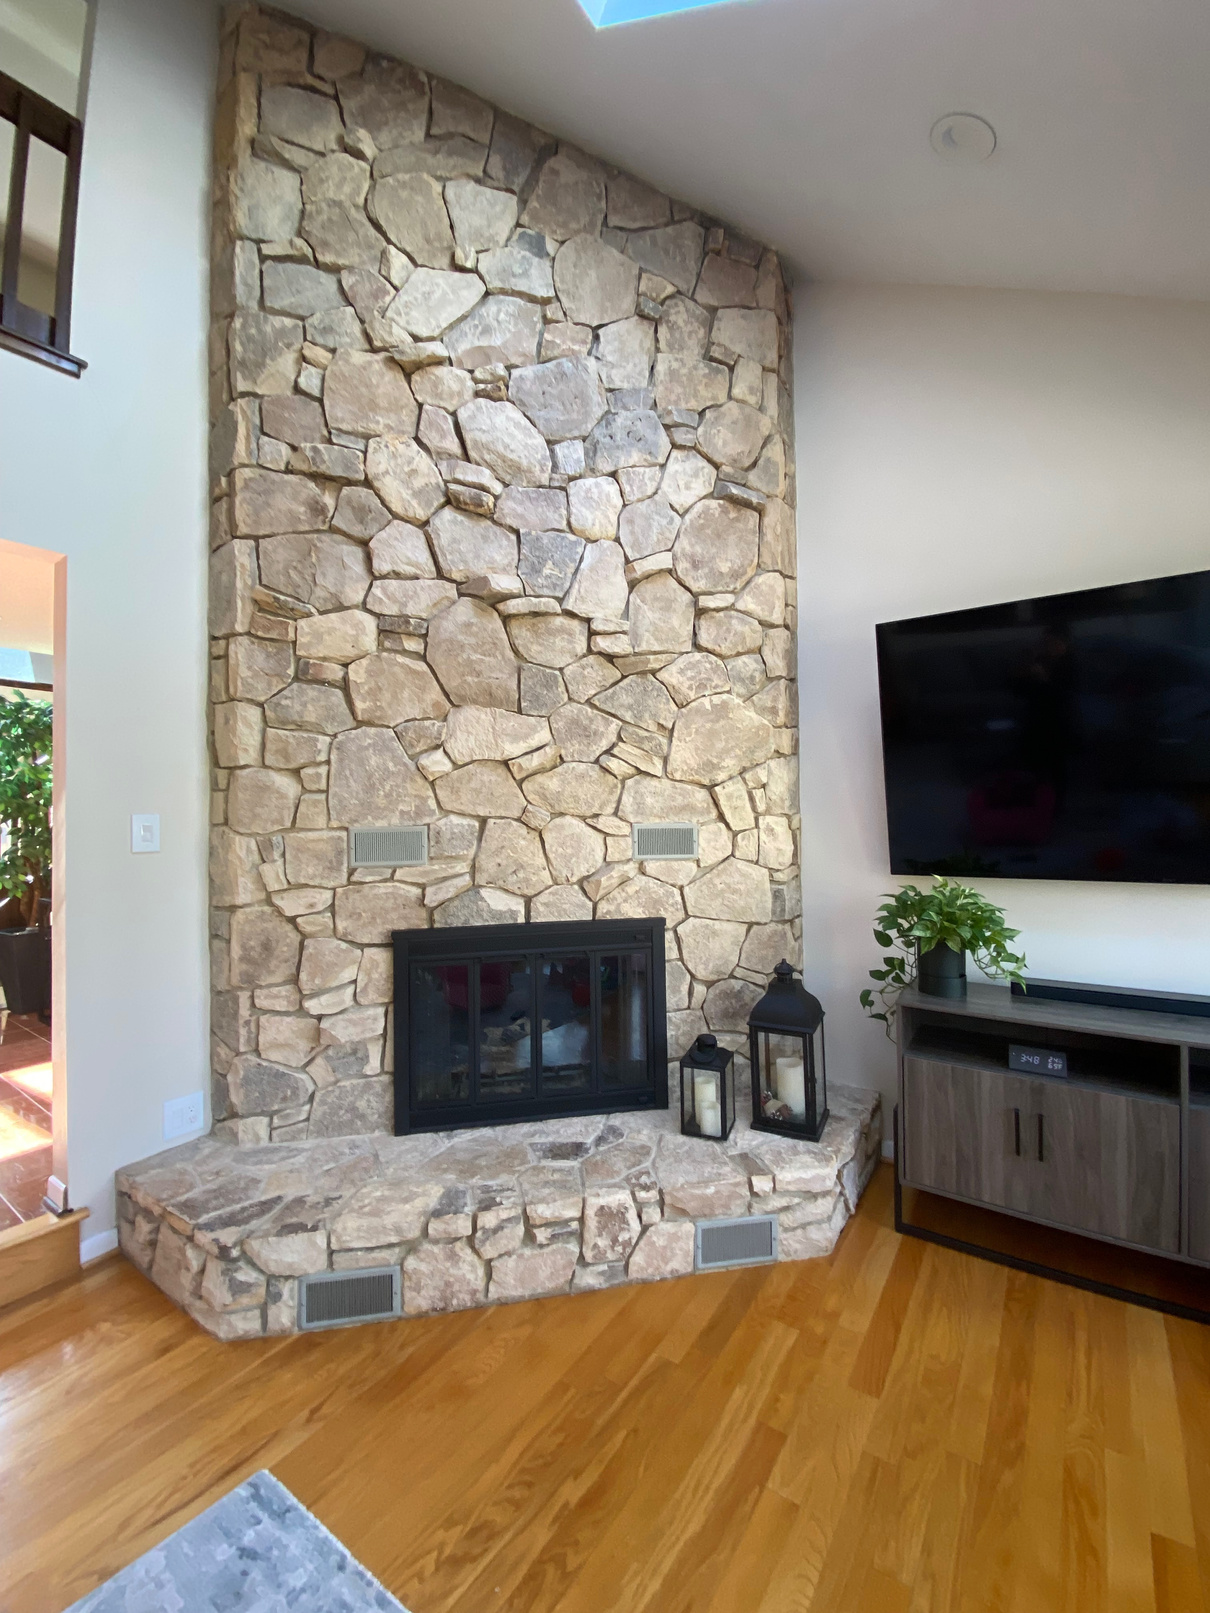
How to Limewash Stone

after
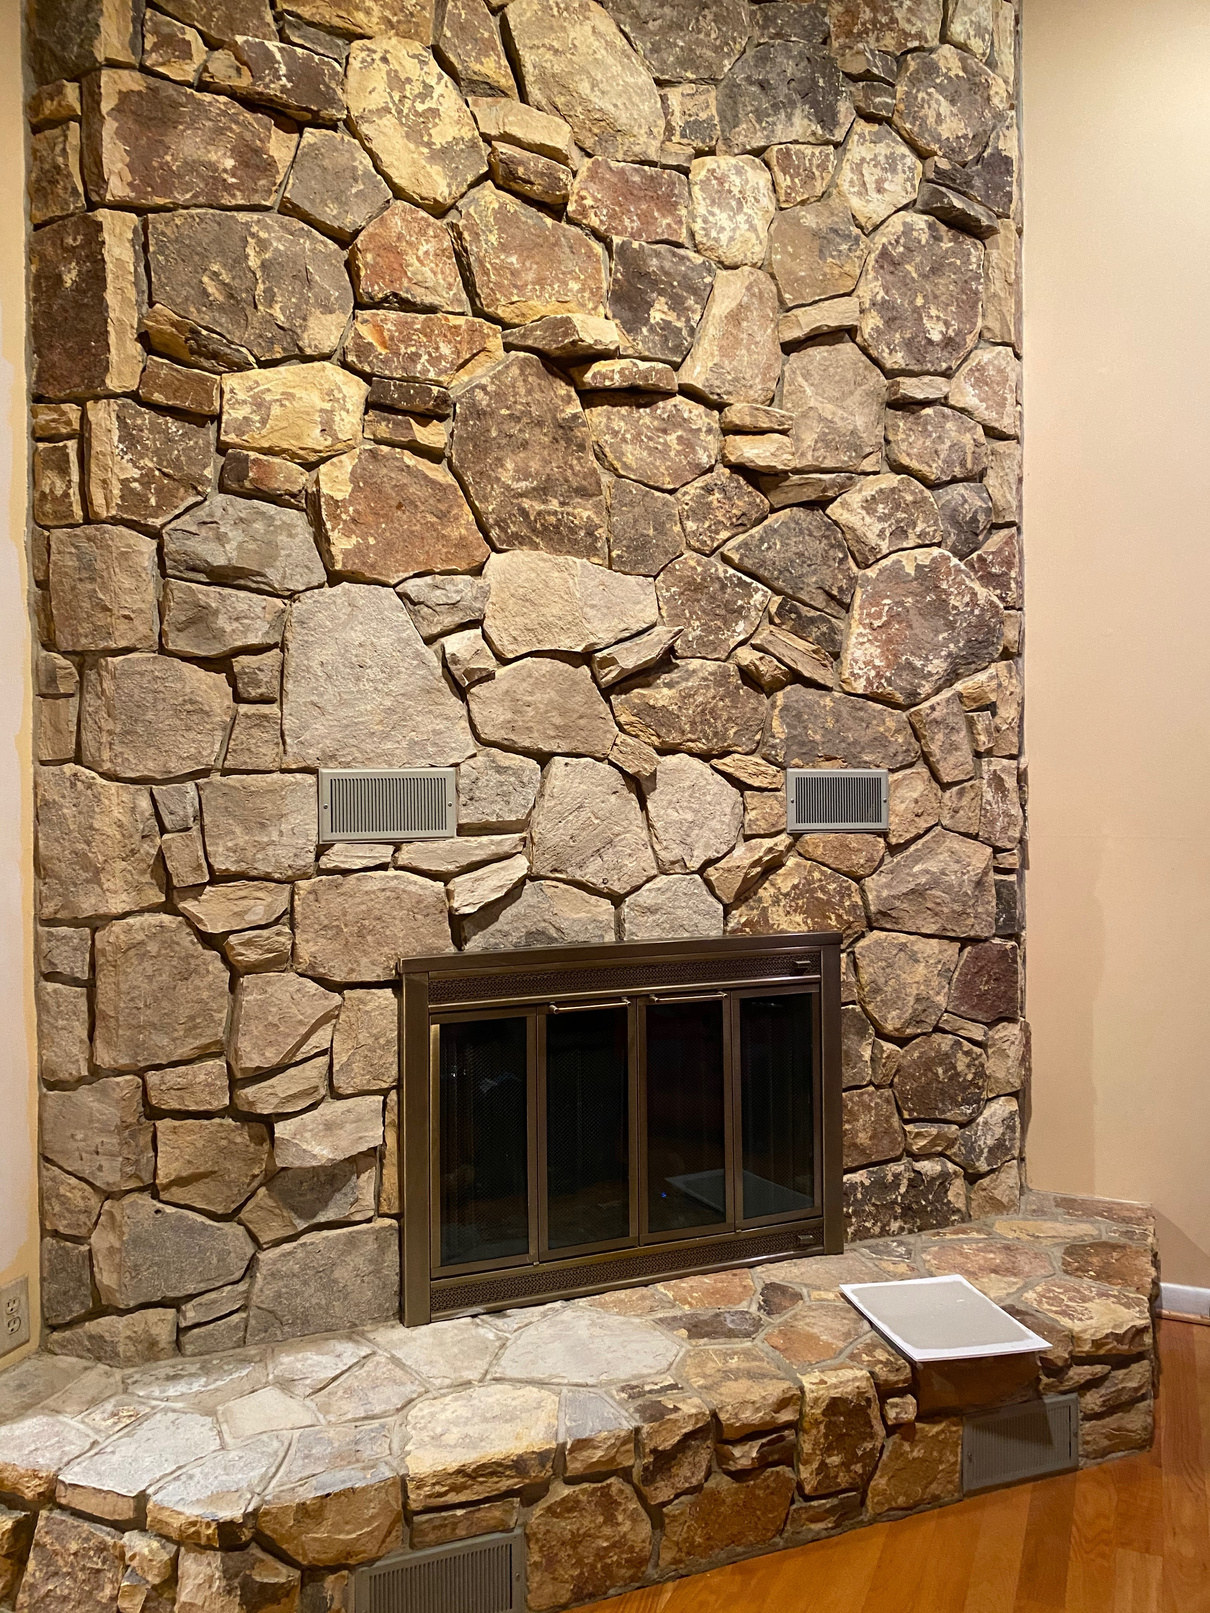
before
When we first moved into our home, one of our first objectives was to tone down the yellow and orange hues. We accomplished this by painting the walls a warm white and Limewashing the stone on the fireplace.
Products useD:
Romabio Fireplace Kit/includes Classico Limewash, Small Masonry Brush
Follow these easy steps for limewashing stone:
- Gather Materials:
- Limewash: Purchase a limewash solution. You can buy pre-made limewash or make your own by mixing hydrated lime with water.
- Protective gear: Wear gloves, goggles, and a mask to protect yourself from lime dust.
- Brushes or sprayer: Decide whether you'll apply the limewash with brushes or a sprayer, depending on the size and texture of the stone surface.
- Drop cloths or plastic sheeting: Cover any adjacent areas or surfaces you don't want to be affected by the limewash.
- Prepare the Surface:
- Clean the stone surface thoroughly to remove any dirt, dust, or debris. You may use a pressure washer or a stiff brush with water and mild detergent.
- Allow the surface to dry completely before proceeding.
- Test a Small Area:
- Before applying the limewash to the entire surface, it's a good idea to test a small, inconspicuous area to see how it will look once dry. This helps you determine if you need to adjust the dilution or application technique.
4. Mix the Limewash:
- If you're using a pre-made limewash, follow the manufacturer's instructions for mixing, if required.
If you're making your own limewash, mix hydrated lime with water according to the desired consistency.
5. Apply the Limewash:
- Start by applying the limewash to the stone surface using a brush or sprayer. Work in small sections, ensuring even coverage.
- Apply the limewash in thin layers rather than thick coats to achieve a more natural, weathered look.
- If you're working with rough or textured stone, you may need to use a brush to work the limewash into crevices and uneven areas.
- Allow each layer to dry completely before applying additional coats. Multiple coats may be necessary to achieve the desired opacity and coverage.
6. Finishing Touches:
- Once you've applied the final coat of limewash and it has dried thoroughly, inspect the surface for any missed spots or uneven areas.
- Touch up any areas as needed to ensure uniformity.
- If desired, you can apply a clear sealer over the limewashed surface to help protect it from moisture and staining.
Remember to follow safety precautions when working with lime-based products, as they can be caustic. Always read and follow the manufacturer's instructions and use appropriate protective gear.